
翻訳は、まだ、ご利用いただけません
Contents
|
How to convert iThmb files from the local folderYour iThmb photo collections are basically stored in two locations: your iDevice and photo cache folder. This folder is created on your PC or laptop when you sync your iDevice with the help of iTunes. It can be useful in these two cases:
You do not need to worry about finding the exact location of the iPod, iPad or iPhone photo cache folder on your computer. iThmb Converter finds it automatically. 1. Choose Find iThmb cache folder from the File menu: 
2. Select the hard or portable drives for locating the folder by checking the respective flags. Usually, the folder is created in your system drive: 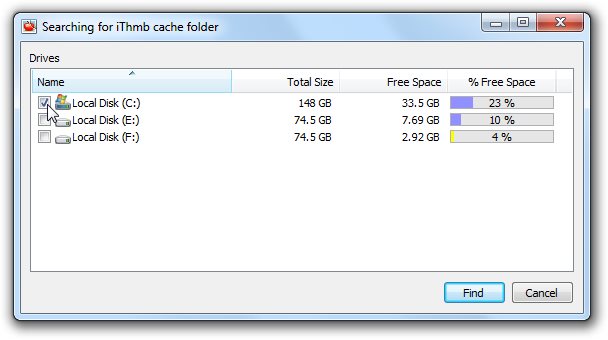
3. After pressing Find the program starts searching for the folder. The process can take up to several minutes depending on the capacity of your drives: 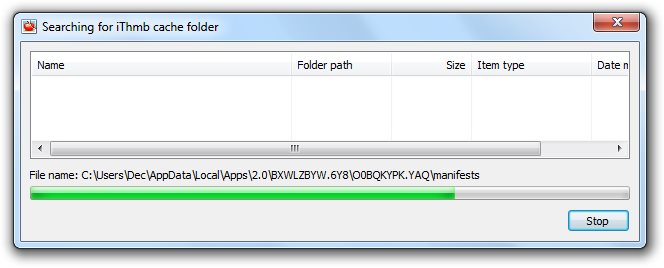
4. When the searching is completed you can view the found index files and the folder locations in the dialogue window: 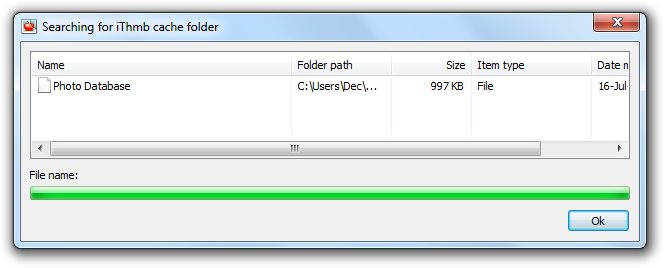
5. Select the folder in the dialogue window. It automatically gains focus in the left panel folder browser of iThmb Converter main window: 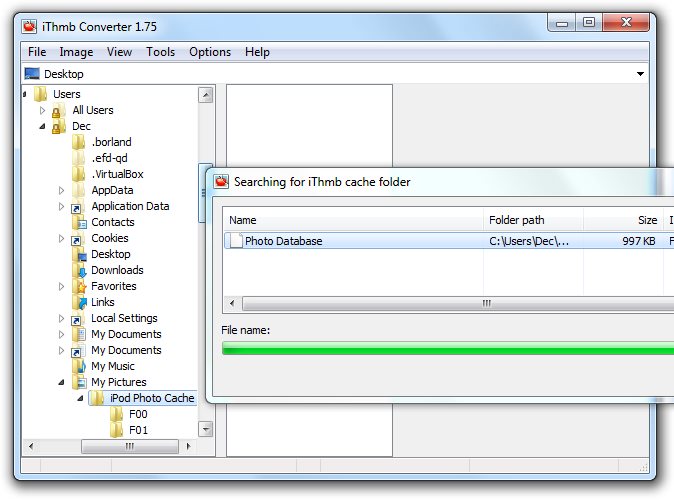
6. All iThmb files in the folder are displayed in the center panel: 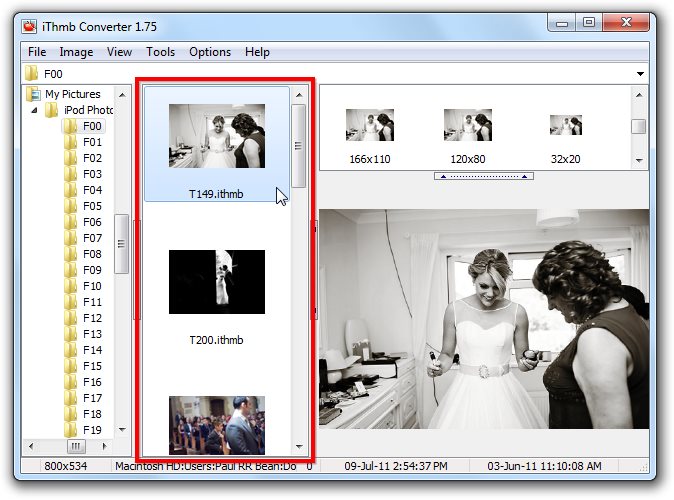
This view is different from that on your iDevice. The upper part of the right panel contains all the photos stored in the selected iThmb file. They are the versions of the same photo image with varied sizes: 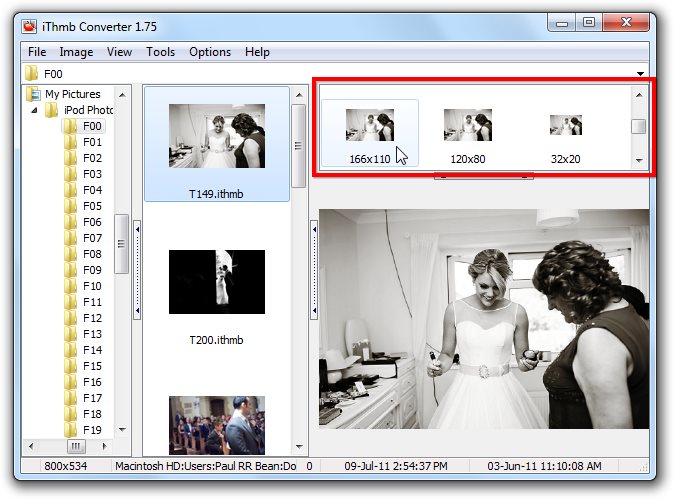
The lower part of the right panel contains the currently selected photo image version (the one to be extracted and saved as an individual JPEG, PNG, or BMP file): 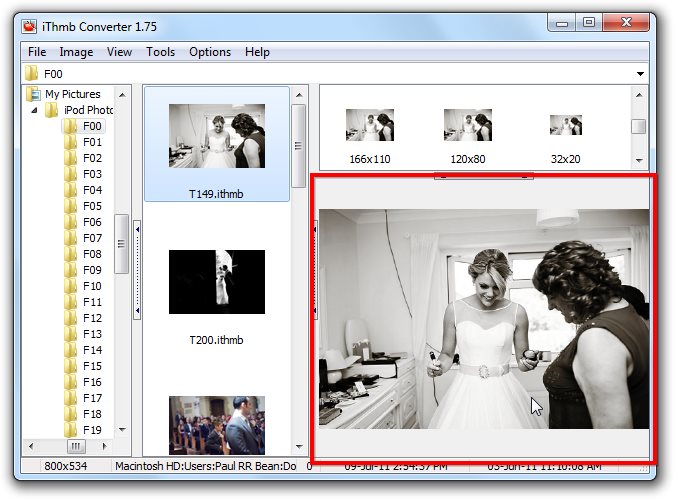
7. You can convert the selected thumbnail photo image from the iThmb collection by choosing Convert from the File menu or by pressing Ctrl+S. You can also simply double click the selected thumbnail: 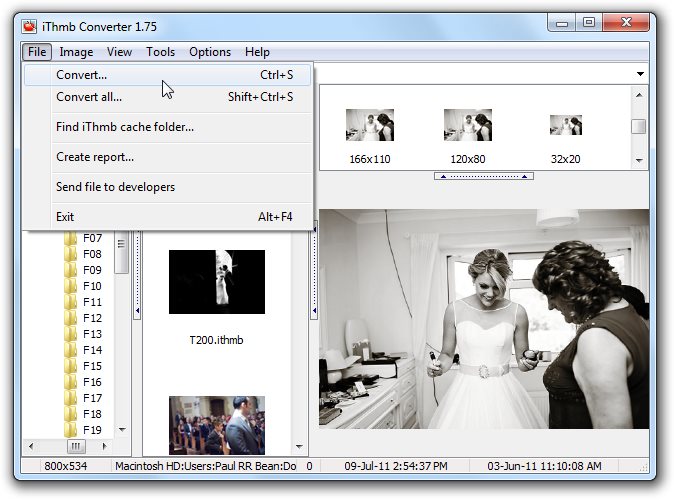
We recommend you to choose the JPEG format to preserve the maximal amount of photo data including the name and dates. Clicking OK finishes the conversion process. The resulting file is saved in the output folder. In order to convert all files in the selected Thumbs folder choose Convert all from the File menu. A dialogue window of conversion options will appear. Read more on batch conversion in Conversion options and formats. 8. If you are not able to see the contents of the file, or if the program displays a conversion error, you can try to choose the decoding method manually or send the file to developers. Important note: Do not delete your converted iThmb files before buying the program. After registration you have to convert the iThmb files again so that they are not watermarked. The resulting watermarked and non-watermarked files will be contained in the same output folder if you didn't change it. |