
La traducción no está disponible todavía
Contents |
Multiple image conversioniThmb Converter supports the batch conversion of all images in a single iThmb file or even all images in a specific iThmb folder. Before converting multiple files you can choose:
In order to process multiple images choose Convert all... from the File menu. This opens a dialogue window of conversion options: 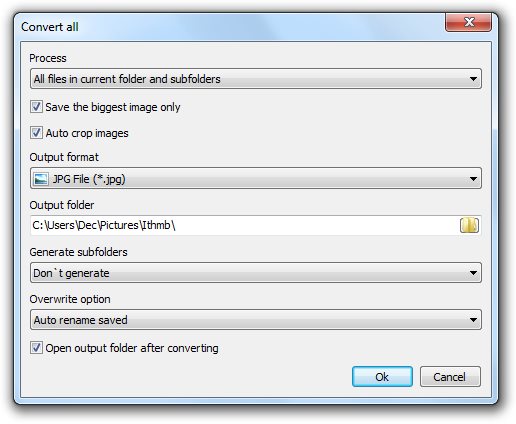
Here is a detailed description of the available options: Files to be convertedYou can choose the various categories of files to be converted. Click the Process drop-down list in the upper part of the dialogue window and select one of the options: 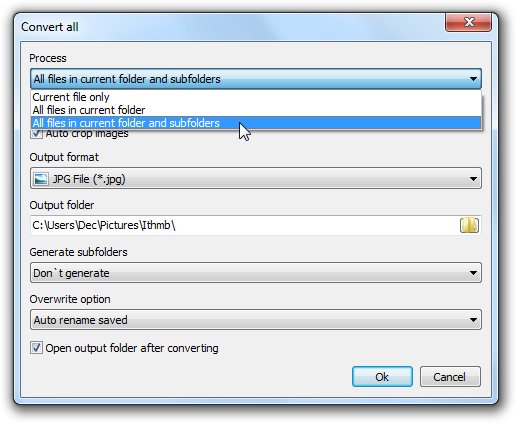 Here is a detailed description of the available options:
Conversion of the biggest image in iThmb collectionSet this flag if you need to convert only the largest image (the one with maximal height and width) from the current iThmb collection. Note: This feature works only for the iThmb files stored in the photo cache folder, i.e. the ones containing the same image of different sizes. For the files stored on your iDevice, all the images of the current iThmb file are converted even if this flag is set. Automatic cropping of imagesThis handy option allows you to get rid of the black borders around the converted images. Set this flag if you want iThmb Converter to crop the black or empty space and reduce the size of the resulting images. Output formatIn order to select one of the 3 output formats (JPG, PNG, and BMP), click the Output format drop-down list and select one of the options. We suggest JPG, in case you need the maximum amount of image data preserved: 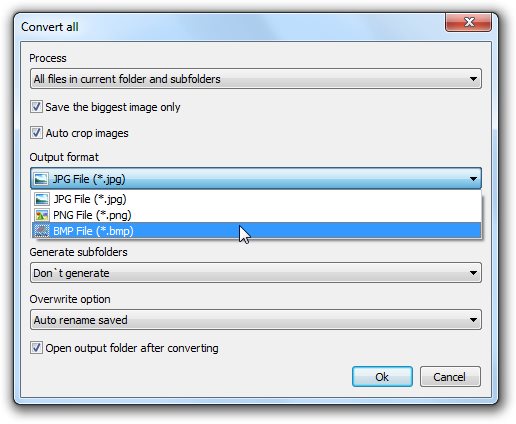
Location of output folderYou can choose the location for the converted files. Click the side button of Output folder text box and browse for the folder. The default value is My Documents/My Pictures/ithmb. Note: We suggest deleting all watermarked output files or change the location of the output folder after registration to avoid difficulties in finding the correct files in the folder. Subfolder generation optionsiThmb Converter provides several options of organizing the resulting files in the output subfolders. Click the Generate subfolder drop-down list and select one of the options: 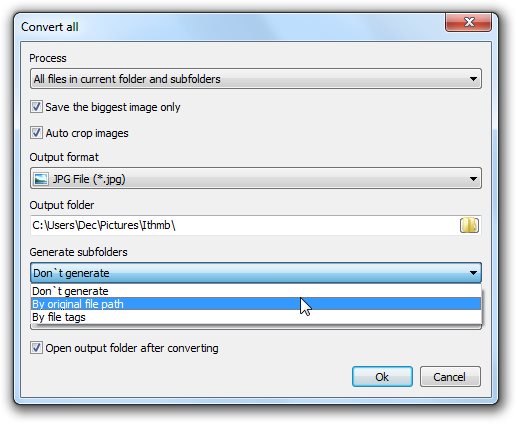
Overwrite optionsIf you have already used the output folder for conversion you need to set the overwrite options to avoid ambiguity in saving the resulting images. Click the Overwrite drop-down list at the bottom of the window and choose one of the options: 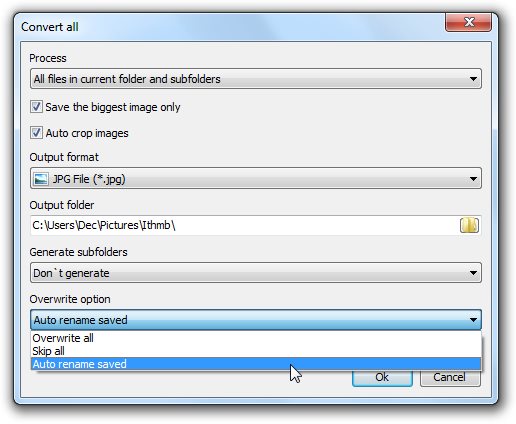
Viewing the resulting files in the folderUse this option to automatically open the output folder after conversion. After configuring the batch conversion options, click OK to start the process: 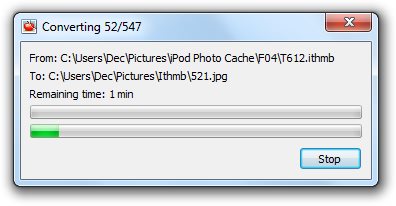
Conversion is completed in several seconds depending on the size and number of your iThmb files. You can view the resulting images in the output folder. If the number of images to be converted exceeds 30 unregistered version of iThmb Converter skips them. |